
Why You Shouldn't Use an IR Thermometer to Monitor Powder Curing
In the powder coating world, few things are more misunderstood and more misused than the humble IR thermometer.
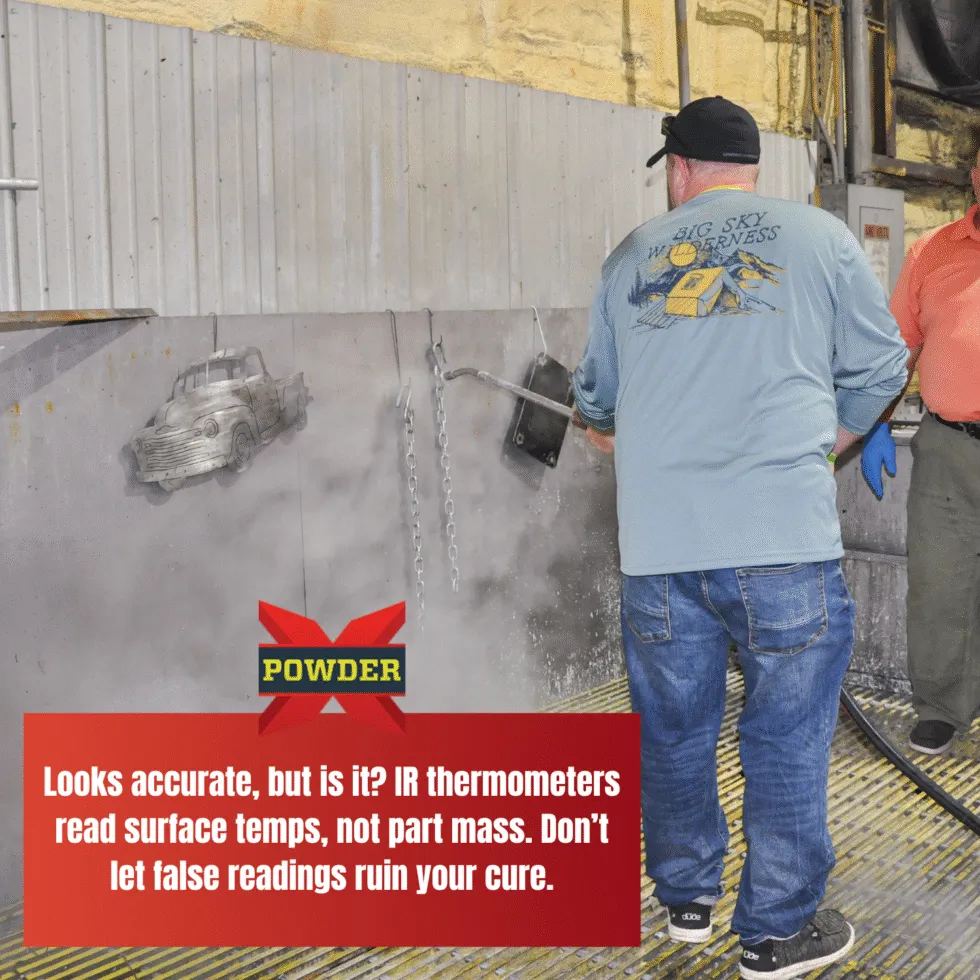
It seems simple, right? Aim the gun. Read the number. Done.
Wrong.
If you’re using an infrared (IR) thermometer to check if your powder-coated part has reached its cure temperature, you might be building failure into your finish. And it’s not your fault, this is one of the most common mistakes new (and even experienced) powder coaters make.
Here’s why that little handheld laser is lying to you and what to use instead.
IR Guns Can’t See What’s Really Happening
IR thermometers are surface readers. They only measure the external temperature of whatever is directly in their line of sight. That’s a problem. Because when you’re curing powder coating, surface temperature is not the full story.
Curing powder is a chemical process. It requires the mass of the part, not just the surface, to reach a specific temperature and hold it there long enough for the powder to flow, crosslink, and fully cure. Your part might look done on the outside, but inside it could still be undercooked.
Now stack on the variables:
Gun-to-part distance
Part geometry
Reflective coatings
Light refraction
Emissivity variance
All of these distort your IR reading. That shiny aluminum wheel rim? It’ll read way cooler than it really is. And if you trust it, you could end up sending out brittle parts, weak adhesion, or worse, costly rework.
Joey Note: “They’re an amazing tool for the industries they were built for. But in powder coating? Their accuracy isn’t even close in many cases.”
What to Use Instead: Thermocouple-Based Temperature Profiling
If you’re serious about quality and consistency, ditch the IR gun and pick up a temperature probe with a thermocouple.
Here’s the method Joey teaches:
Get a temperature meter from your hardware store (or grab one from powdermarket.)
Test 10+ raw parts, different sizes, shapes, and thicknesses.
Attach the thermocouple to the thickest section of the part.
Insert the part into a preheated oven (e.g. 400°F).
Record how long it takes for the thermocouple to read 400°F.
Build a cure guide. This becomes your standard reference based on part mass, not surface.
This process takes guesswork out of curing and gives you repeatable, quality results every time.
What Happens If You Undercure?
Powder that looks good but hasn’t chemically crosslinked is a ticking time bomb. Here’s what undercured parts bring you:
Peeling or chipping under use
Lack of adhesion
Brittle coating
Failed flexibility tests
A whole lot of warranty claims
Want proof? Take a small panel that’s been properly cured and bend it in half. If the powder cracks it wasn’t done curing.
Joey Note: “Elasticity happens late in the curing process. That’s why undercured powders are so brittle. Always go over on time. Never under.”
Bonus Tip: Use the Technical Data Sheet (TDS)
The manufacturer’s TDS isn’t a suggestion, it’s the rulebook. If your TDS says “10 minutes at 400°F,” remember that’s part temperature, not oven air temperature. You need to reach 400°F internally first, then start the 10-minute timer.
And always match the TDS to the thickest area of your part.
Final Thought: You Don’t Get a Do-Over in Powder
Rework is expensive. A failed part damages trust. And blasting off uncured powder is a nightmare you want to avoid.
So can you use an IR thermometer?
Sure.
If you want to feel good about your guess.
But if you want to know, really know, that your parts are cured to last?
Use a thermocouple. Build your cure curve. Follow the data. And never underbake.
Because in powder coating, the shortcut costs you more than the tool.
#PowderX #PowderMarket #JoeyGolliver #PowderCoachsPlaybook